Chuck Jaw Regrind

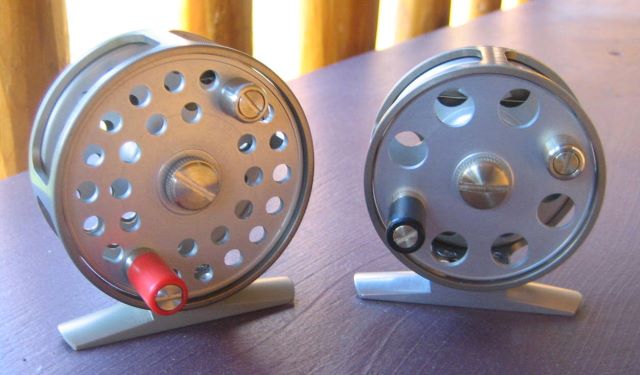
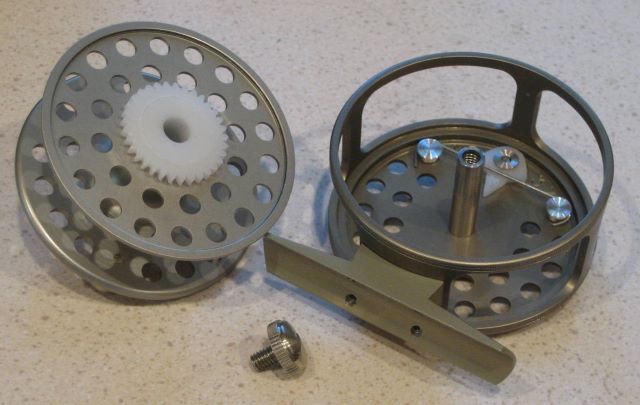
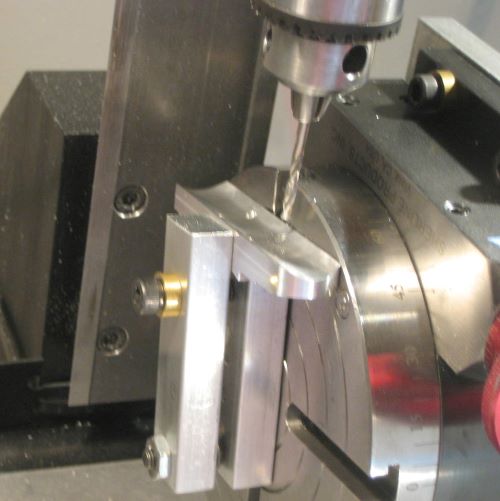
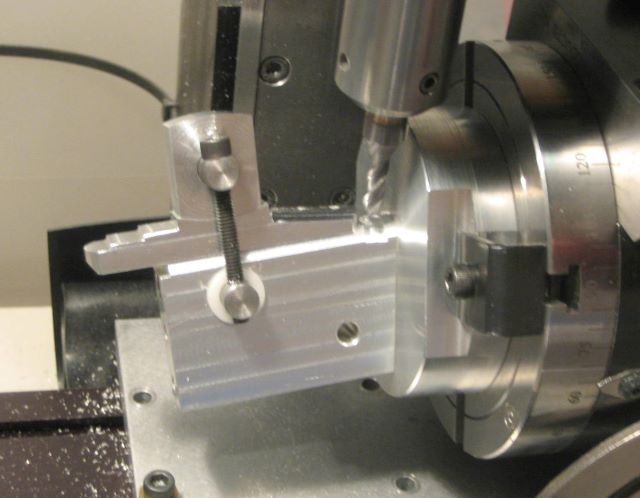
The 4 jaw chuck is a workhorse for reelmaking. Sherline’s 4 jaw is just big enough to hold the 2.5 to 3 inch diameter material needed to make reel frames. Since these parts have to be machined from both sides, the independent movement of the jaws allows re-centering to any measurable degree of accuracy when the work is turned over. And, work can be shifted from lathe to mill (with rotary table) while centers are maintained.

I have been having some difficulties with my 4 jaw chuck; I could not get the two faces of a chucked part parallel. There would often be .002 or .003 difference in thickness from one side to the other. I was aware of the problem for a long time before I realized (duh…) that the problem was in the chuck.

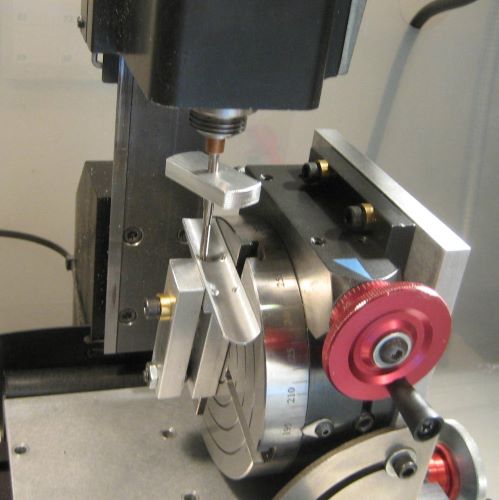
Holding a 3 inch diameter part requires the jaws to be installed in their “reverse” position, and the material disk then rests on flat surfaces of the chuck. Here I have set up a Last Word indicator to show the height of these flats. I can turn the spindle slowly by hand and get a sequential indication of height. For my chuck, three of the jaws were in close agreement, but the fourth was about .004 higher than the others.

The jaws here are of course loose and may not be at the same relative heights as when the chuck is tightened on a part. Regardless, .004 is more error than should exist. I took the chuck apart and re-assembled twice, but got the same error each time. Further, it was easy to see that material with the first side flattened would “rock” on the jaws when turned over.

Fred at Sherline agreed that this was beyond the Pale, and suggested that I send it back for re-grind. He waived the repair charge even though my chuck was out of warranty.

When I got the chuck back, I saw that Sherline had assembled the jaws in “normal” position and run them to the center so that they all were tight during grind. Now my indicator setup showed that they were all within a .001 inch band, even when I put them in “reverse” position and they were loose.

So here is part of the education of an amateur machinist; learning to recognize when the equipment is out of spec and can easily be fixed.

Posted in Work Holding | Leave a comment

Size 4 Reel, One Piece Frame & Spool

Just finished a reel for WF4F line. It is 2.53 inch diameter and 2.8 ounce weight.

I will use it on the fiberglass rod that I recently built.

This is just a larger version of the last reel that I made (28 June 2013), which is for size 2 line (2.32 inch diameter, 2.6 ounce).

My previous reel design had multi-piece spool and frame, for a total of 43 parts (4 April 2013). By using the one piece spool and one piece frame, the part count is cut to 21.

I intend one more change to the pawl mounting, making the part count 20, and 4 of those are the stock screws that hold the foot.

As is typical of my reels, the ratchet and pawl are acetal.

Here it is loaded with a WF4F line and 40 yards of 20# backing.

This a a bit more full than I like to have the spool; I may cut the backing to 20 yards.

On a recent post, “Spool Volume” (10 May 2013), I included a table of spool sizes for reels to hold WFxF, with x from 0 to 5. I am ready to make these reels this winter for anyone interested ($400).

Posted in My Reels | 3 Comments

Counter-Electrodes for Coloring

Anodized coatings can be dyed, but I prefer the process of electrolytic coloring; it is easier to get a uniform finish. My earlier post on coloring was on 24 Aug 2012.

When growing the anodize layer, the design of the cathode is not critical because the resistance of the cell is almost entirely in the barrier layer of the coating itself. This guarantees a uniform coating. The electrolyte is about 18% sulfuric acid and so is highly conductive. But the electrolyte for coloring is only about 2% acid, and so is much less conductive. The counter-electrodes (coloring is done with an AC supply) have to be arranged to create a uniform electric field over the surface of the work.

How careful do we have to be with counter-electrode design? Software is available for 3D mapping of electrostatic fields, but the effort required is excessive. I have instead relied on trial and error, and have been lucky.

I do coloring in a 24 ounce plastic jar, and suspend the electrodes from a homemade cover. To color the spool side plates of an earlier reel design, I made the simple counter-electrodes shown below.

Here I am preparing to use them on a one piece frame.

And the result is satisfactory, the coloring is uniform.

Posted in Anodizing/Plating | Leave a comment

Mill Enclosure

When I first got my Sherline mill, I put it in a large tote to help contain the chips that are thrown in all directions.

I screwed the mill base to a piece of laminate covered shelving, which was not very heavy. Vibration of the mill has always been a problem; axis locks are likely to vibrate loose.

Now I have made a new enclosure of 3/4 inch MDF. The enclosure is heavier than the mill, and vibration is greatly reduced.

I should have done this a long time ago.

The sloping front panel is a piece of Lexan (polycarbonate) that lifts away while I am making setups.

You can see here a narrow Lexan “shelf” that keeps chips from escaping through the two hand access ports.

Posted in Fixtures | 2 Comments

Custom Tap Wrench

Having a wrench guide virtually eliminates the breakage of taps. Sherline’s web site has “Machininsts Tips”, and number 7 shows a wrench for holding small taps. I have made a similar wrench.

The brass sleeve is the guide, and is held by a mill collet.

When I tap the four holes in a reel foot, spindle height is a problem. There is room for neither a standard tap wrench or a Jacobs chuck. The new wrench solves this problem.

I was skeptical that the set screw would provide enough grip for the tap, but so far it has been OK.

Posted in Threading | 2 Comments

New Foot Fixtures

My new reel design has a one piece frame, so the foot has to attach in a different way. Previously, the foot had a tooling hole that allowed simple clamping on two special fixtures. Without the tooling hole, clamping is more elaborate. The new design encompasses 6 different reel sizes, and this affects the clamping methods.

My fixture for cutting a radius at both ends was shown on 14 Feb 2012. The part is now held down with a strap, rather than a bolt through.

The joint of the foot to the frame is a curved surface. I had to make a new fixture to cut the arc on the foot.

This fixture is adjustable to cut a range of radii.

The foot is now secured to the frame by four radial screws. I needed a new fixture in order to drill the foot.

The end of the right clamp bar (the one next to the rotary table) is curved to fit the top on the foot. Each different radius requires a new lower bar.

Finally, my old foot fixture (28 May 2011) needed a special clamp to hold the part in place.

I made upper blocks of several different radii .

Posted in Foot | 2 Comments

Line Guide Gadget

The first time I saw one of these was at a silent auction, and it took a while for me to figure out what it was.

It is a visual aid for a rodmaker, to help get the butt section line guides angularly aligned with the reel seat. It is lightweight and so can remain on the reel seat while the guides are wrapped.

I did not start this part with the intention of making a fixture. It was going the be a reel foot, but I did a poor job in locating the four holes for mounting to the frame. Now salvaged, it has at least some value.

Posted in Rods | 4 Comments

Rod Wrapping

To assist in putting the thread wraps on my fiberglass rod, I was able to borrow this deluxe fixture from RKP.

This is my homemade rotation device for wrap finishing. It was originally made to be a fly tying tool, for drying epoxy heads on streamers.

All that is left is making/buying a tube and bag.

Posted in Rods | Leave a comment

Making the Grip

Pre-made rod grips are available, but I chose to buy cork rings. This fiberglass blank is .435 to .403 diameter in the span of the grip, and I thought it would be difficult to enlarge a 1/4 inch bore (6.5 inches long) with just a rat-tail file.

An HSS boring tool did a reasonably clean job of enlarging the initial holes in the cork rings. And, I could decrease the bore a little on each successive ring to follow the blank diameter.

It is a rather unusual tool that I show here. I am not certain that it was designed for boring, but it worked.

I tried the standard Sherline HSS tool also, and it was satisfactory.

Then came a nasty surprise. After I glued on the threaded part of the reel seat (5 minute epoxy, of course), I saw that the last thread was not fully formed, and that I could not screw on the locking ring.

At this point, everything is glued to the butt section of the blank. Here is an improvised setup for trimming off that last thread.

Reel seat complete, I could then glue on the cork rings.

The next day I made an outdoor setup for shaping the grip, using a wood rasp and then sandpaper.

And here is the finished grip.

I am not totally satisfied with my attempt to form a “Half Wells” style grip. This is a freehand operation, and practice would help.

Winding check, Delrin AF.

Posted in Rods | Leave a comment

Fitting a Reel Seat

For a while, making a rod is displacing the making of reels. I am not an accomplished caster, but I have recently learned that a slower rod is probably better for me. A friend acquired a rod made from a Lamiglas FL904 blank (7’6″ 2 piece 4 weight), and I liked it so much that I had to have one. All the parts are now in hand.

Lamiglas specs this fiberglass blank to have a .445 inch diameter butt. I felt very lucky to then find an uplocking reel seat for which the wood insert bore is supposed to be .450 inch.

Well, the butt diameter turned out to be .460, and the wood insert bore was .438. So I spent quite a bit of time sanding out the insert to an adequate diameter.

Here I have used a Delrin ring to help hold the insert while sanding with 100 grit paper glued to a 3/8 dowel.

After too much time, the insert finally slips down to the end of the butt section.

Back to reel making: once this rod is together, my plan is to make a larger version of the 1 weight reel that I recently posted (one piece frame and one piece spool). A new rod deserves a new reel.

Posted in Rods | Leave a comment