
My reels to date have had ratchets of 642 bronze and pawls of natural Delrin. Delrin was the best of 9 plastics reported here on 7 May 2011. I chose bronze for the ratchet for its corrosion resistance and to assure that ratchet wear would not be a problem, as long as the pawl was plastic. Alloy 642 (Rtb 90) is perhaps an overkill and could be replaced by an alloy that is easier to machine such as 544 (Rb 80).
But classic reels have long used steel for ratchet and pawl, so I feel that I have to justify a departure from tradition. Steel has some obvious drawbacks: susceptibility to corrosion and more complex fabrication. This post covers my recent effort to make steel ratchet and pawl for comparative testing.
I chose 416 stainless. This is a martensitic (and therefore hardenable) alloy that is particularly easy to machine in its annealed condition.
For basic heat treat instruction, I read the book Heat Treatment, Selection, and Application of Tool Steels by William Bryson (not the travel writer).
When steels are heated above 1000F, they will oxidize and form “scale”. To prevent this Bryson recommends wrapping the steel parts, together with a small piece of kraft paper, in inconel foil. Once the package reaches 451F, the paper burns and consumes the available oxygen. But inconel is prohibitively expensive; it is what submarines are made from and they cost about $1 billion. I think that the reasonable substitute would be stainless bags from McMaster-Carr.
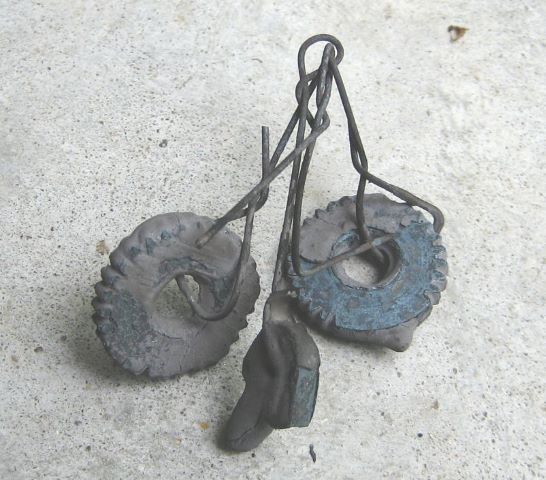
I chose instead to use an anti-scale coating. Bryson mentions PBC (Rose Mill Co.) but this is apparently based on borax, as it is limited to 1600F service. I used ATP-641 from Brownells, which dries as a ceramic casing. Of course I failed to read the instructions for application, so I did not realize that it should be thinned. It was difficult to get the parts covered with the thick solution, and I ended up with a very thick coating. As you can see, fine details of the ratchet and pawl are entirely obscured.

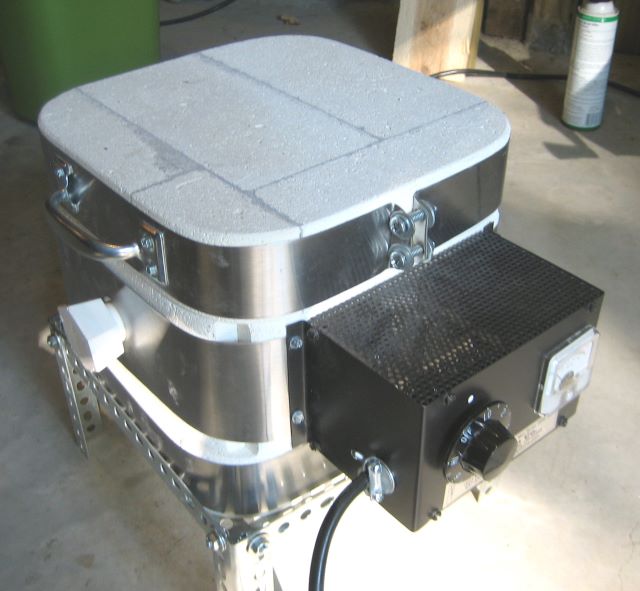
To heat the parts, I used the same kiln that I had when I tried silver brazing (23 June 2011). It is a Vulcan JK-1, and is equipped with a thermocouple. If you were trained in blacksmithing technique, you might get along with a charcoal forge and judge temperature by color. But I have a degree of color blindness that would make it impossible to know when I had “straw color”. The austenitizing temperature for 416 stainless if 1850F. For parts of 1/8 inch section, this should be held for 1/2 hour.
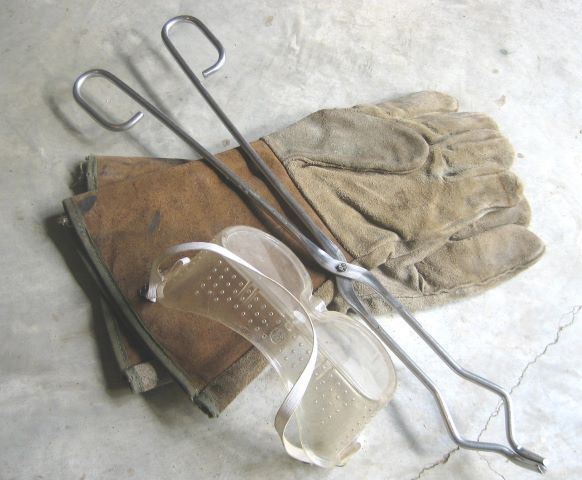
For safety, I was prepared with long tongs, welder’s gloves, and goggles.
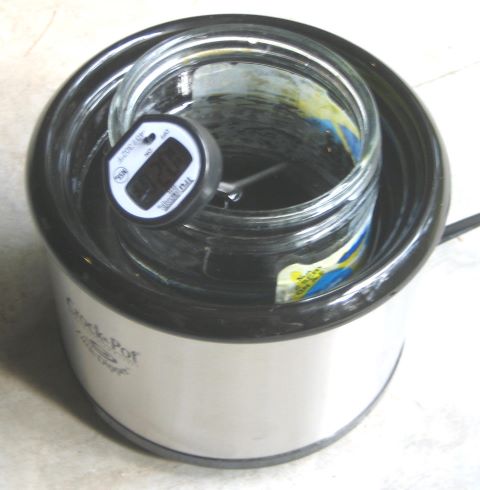
Once the parts become austenitic, they have to be quenched to form martensite. Now, 416 is particularly easy to quench; you have perhaps 30 seconds to get below 1300F. Air quenching would probably work, but I chose to oil quench instead. The reason is Bryson’s caution to not let the parts get below 150F before tempering. So I heated a jar of mineral oil in a small crock pot. This is a low wattage appliance, and it took about 45 minutes to heat the oil to 150F, Upon quenching the 1850F parts, the oil temperature rose to 173F. I had no more than 12 oz oil.
I tempered at 700F. I thought that this would provide the best combination of hardness (37 Rc) and toughness (22 Charpy). References: Atlas Steel and Carpenter. Tempering time for these small parts is 1 hour.
While the quenched parts are waiting in the oil bath, there is the problem of getting the kiln stabilized at tempering temperature. When you remove the cover, the air inside quickly cools and the thermocouple responds to this. But the walls are still hot and when you replace the cover, the air reheats. So you have to fiddle around for a while to get the temperature stable.
Now the disadvantage of oil quench becomes apparent. You can’t wipe off all the oil before putting the parts into the kiln. And if you reheat them to 700F and then remove the cover to control temperature, the sudden burst of oxygen causes them to burst into flame. Before doing this process again, I am going to carefully consider water or air quenching.
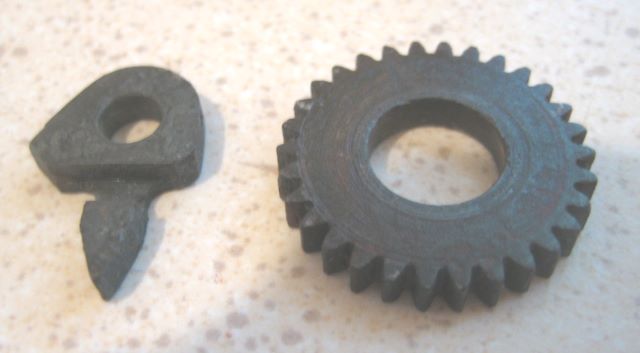
So here are the parts after tempering. Some of the coating has already flaked off.
And here they are after I chipped off the rest of the coating. Not beautiful, and the dark surface doesn’t easily sand off. To get a bright surface again, you pretty much have to grind. I am not going to spend time making microgrinding wheels to work on 36DP gear teeth.
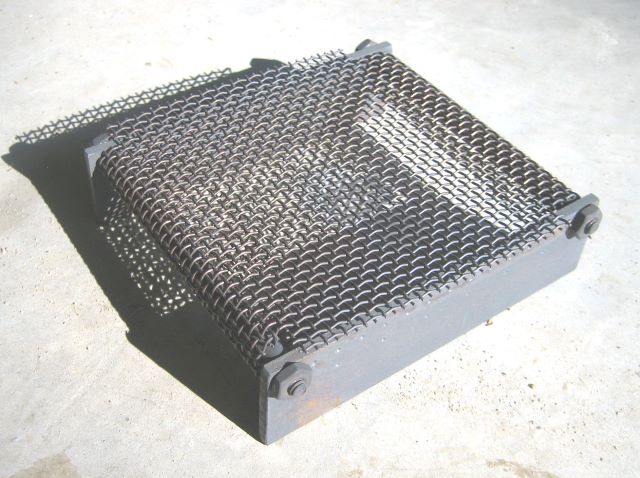
I am beginning to wonder if the anti-scale coating was worth the bother, since I am treating a stainless steel (although one that is not of the best corrosion resistance). While the parts were in the kiln, they sat on a rack that I made from stainless screen wire and 303 bar. This is the rack after a furnace braze operation at 1350F.
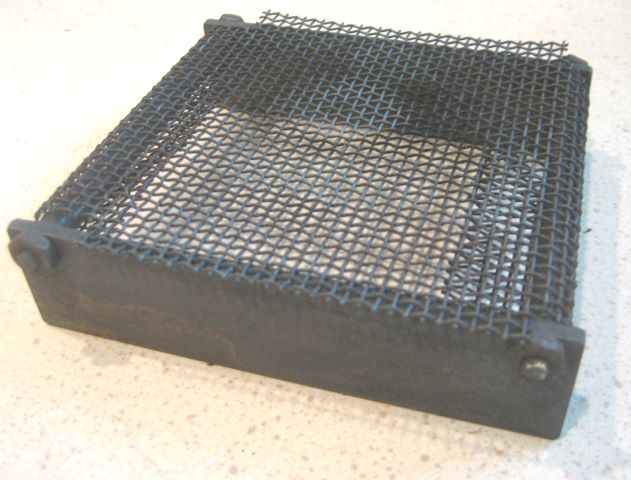
And here it is after austenitizing and tempering. Darker yet, but not much worse than the ratchet and pawl.
Note 10 Aug 2011: I posted a reference to this on Rod and Reel Maker’s Forum, and a question was raised about the tempering temperature. 700F is perhaps a little too high; could get “blue brittleness”. So I will re-do the heat treat, tempering at 600F. Also, will use stainless bags instead of the ATP-641. Hope to get better looking parts. The ratchet and pawl are going onto a fast gearmotor tester, and I don’t want them to be brittle. The bags: alloy 309 has better high temperature corrosion resistance than other 300 series stainless.
