
Grayrock is a meeting of bamboo rod makers held annually near Grayling MI. I have never attended (since I am not a rod maker) but a friend is on the program committee. He recruited me to be the novelty speaker for this year, on the subject of reel making. Following is my slide show presentation.
This is the only reel that I have made so far. It has the general appearance of a Vom Hofe reel but uses aluminum and Delrin instead of nickel silver and hard rubber.
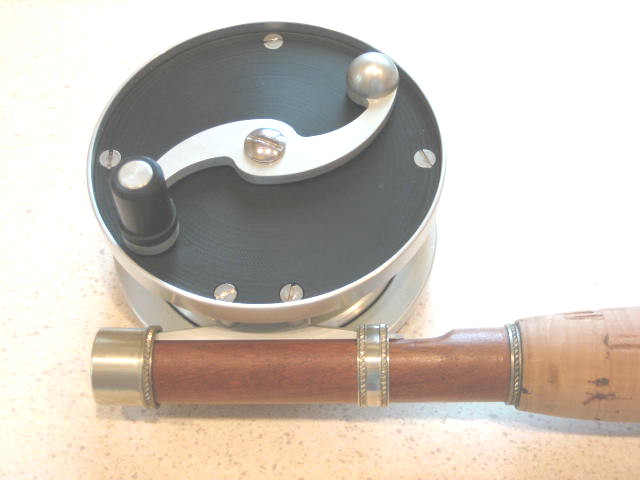
Here is the working mechanism, a ratchet and pawl drag. There is no way to disengage the pawl, but it is asymmetrical for more resistance to outgoing line.

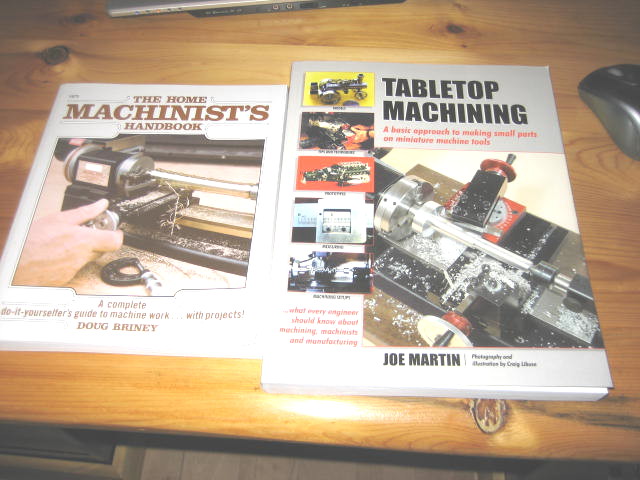
These two books are my only education on machining. They are both oriented to Sherline lathes and mills, which is what I own. You can get these at either Amazon or the Sherline web site.
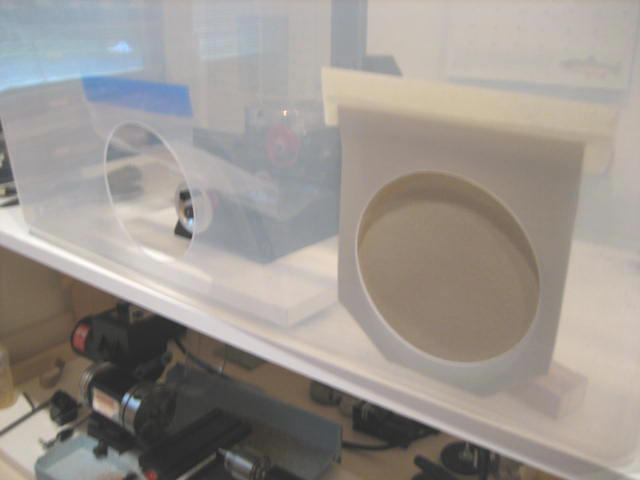
This is my “machine shop”, a corner of our utility room. The lathe is on the desk below and the mill sits above it, inside a tote that captures most of the flying chips.
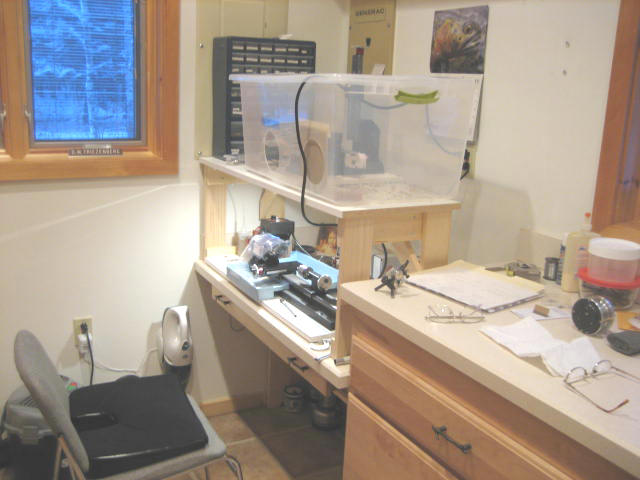
Collection of debris is an important consideration when these tools are in one’s house. Lathe shavings are caught in two trays made of folded posterboard.
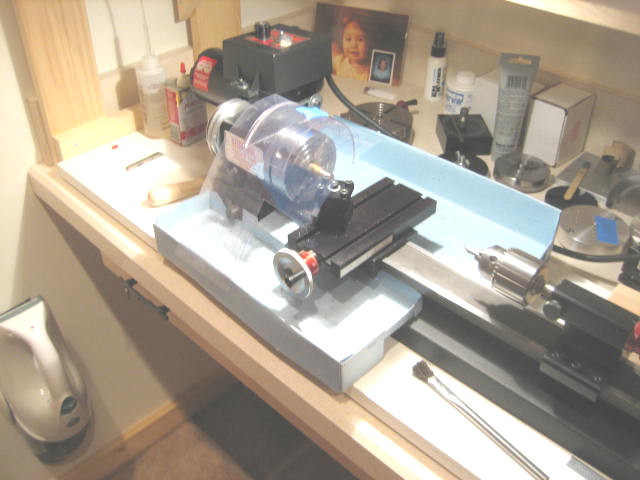
The mill is messier than the lathe, and stays inside a tote. Access to the handwheels is by two cut-outs with flaps.
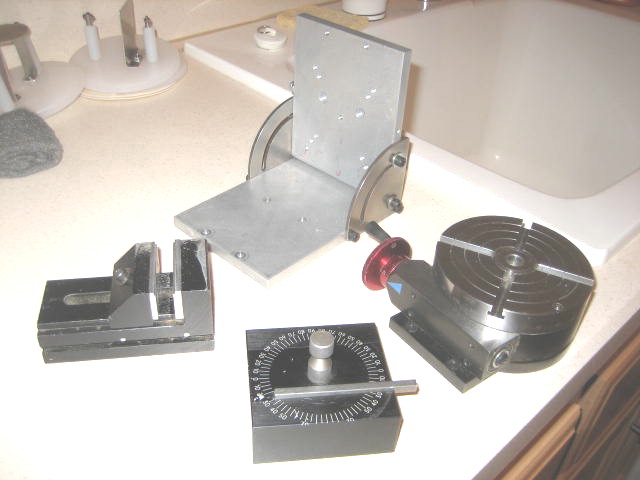
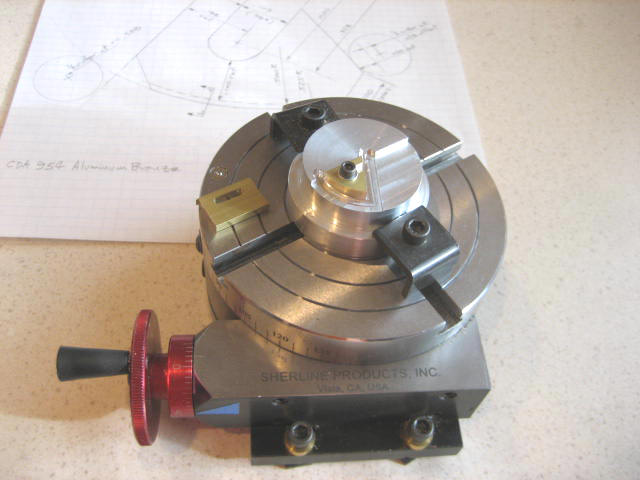
Here are some of the Sherline accessories that I use. The rotary table is attached to the mill most of the time.
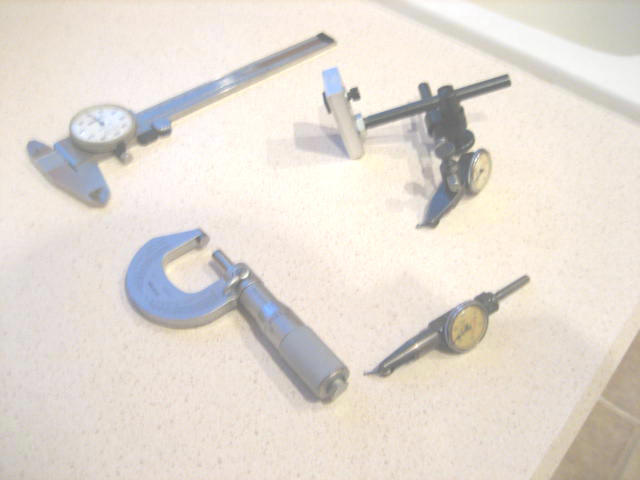
Some measuring tools: micrometer, dial caliper, and two Starrett “Last Word” indicators (Ebay purchases).
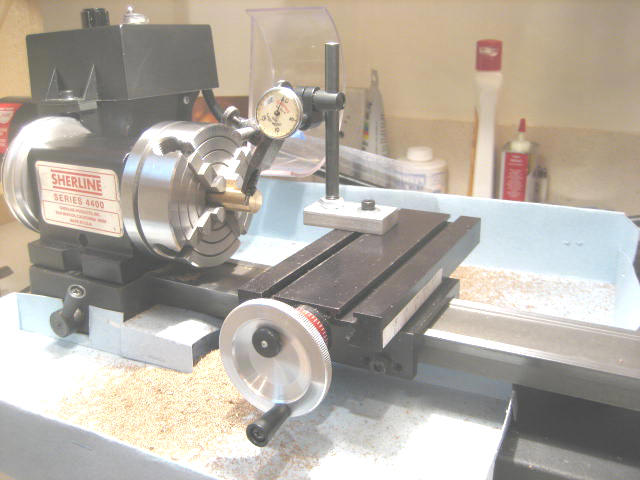
Here I am using a dial indicator to center stock in a 4 jaw chuck. Centering is very quick, after a little practice.
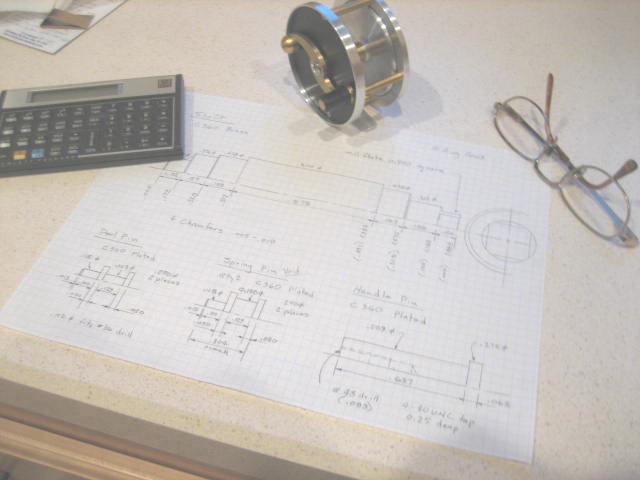
Some design tools are needed, as you won’t find published plans for reels. This is my CAD system.
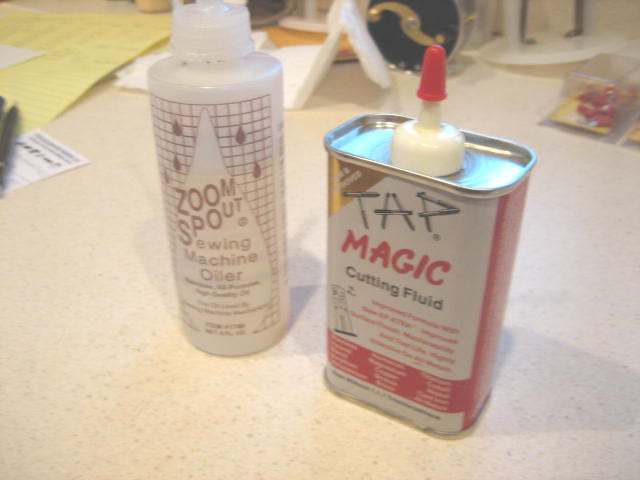
Sherline tools are low power, so very little coolant/lubricant is needed. I use these mainly for drilling, tapping, and parting off.
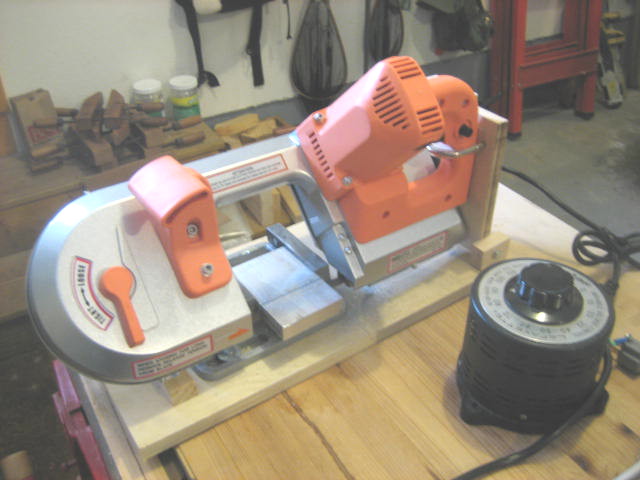
Raw materials are typically available in one foot lengths. A power bandsaw is a convenience. I made this one from a Harbor Freight handheld saw. I use the variac to reduce its speed, as the trigger control seems ineffective.
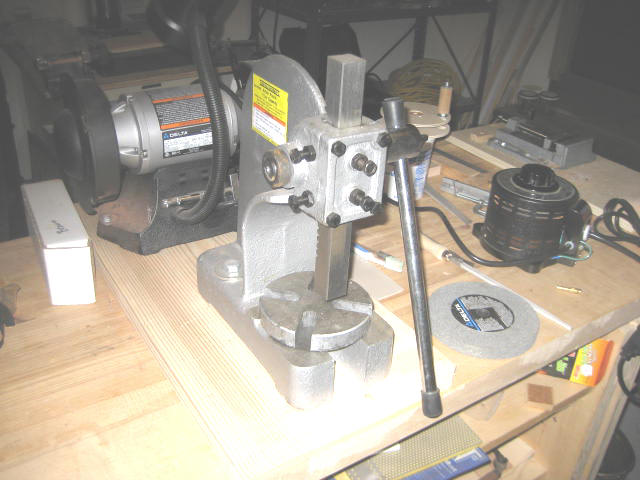
I assemble spools by press fits, and use this arbor press. The shaft is knurled where the spool ends fit, so tolerances are not particularly tight.
This is Sherline’s knurling tool. It presses hardened dies into material that is being rotated by the lathe.
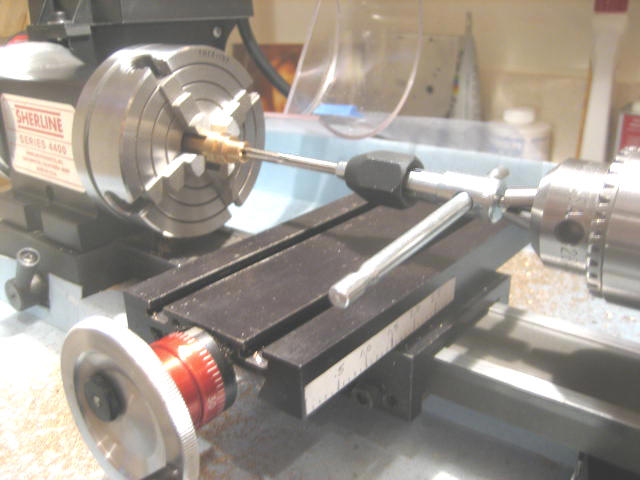
Sherline lathes are available in long and short bed versions. I recommend the long bed because some tools are long, like the reamer shown here.

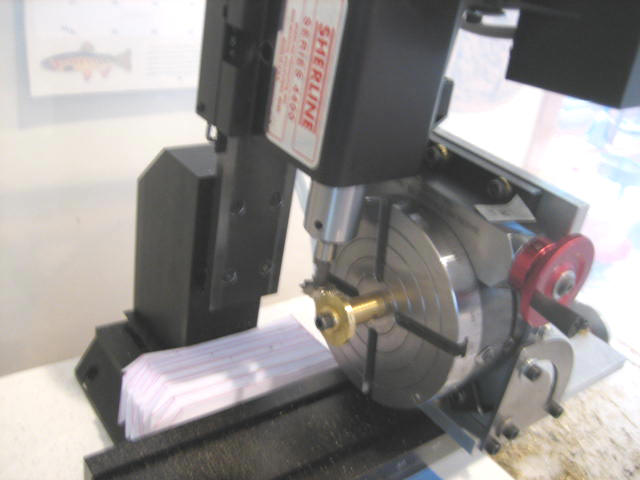
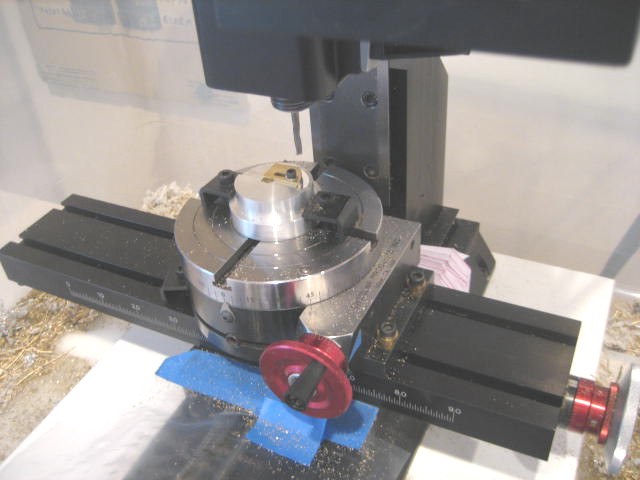
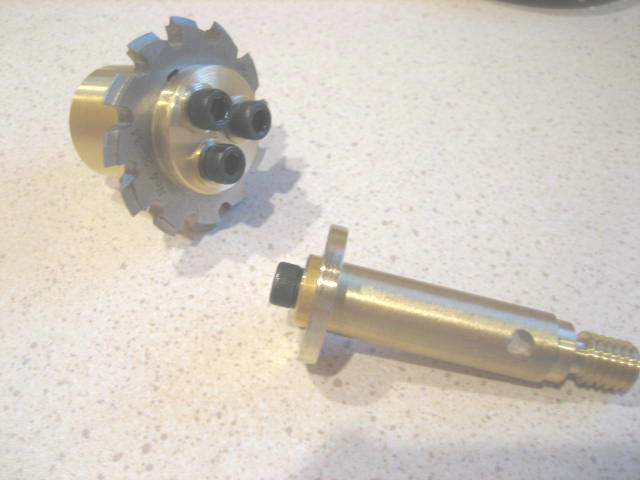
Here I am using a milling cutter to make notches in the rim of a ratchet blank.
Tapping is easily done on the lathe. A pin in the tailstock keeps the tap wrench in alignment.
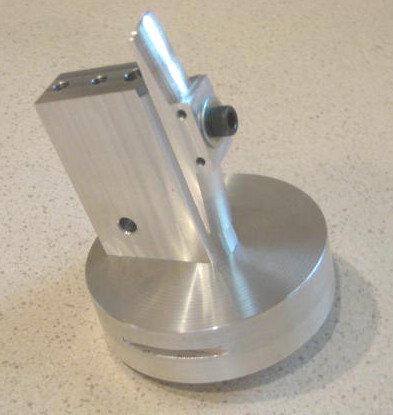
To make some parts, you have to first make suitable fixtures. This fixture hold the reel foot while the convex cylindrical surface is milled.
Here I am milling the profile of the pawl, using the rotary table.
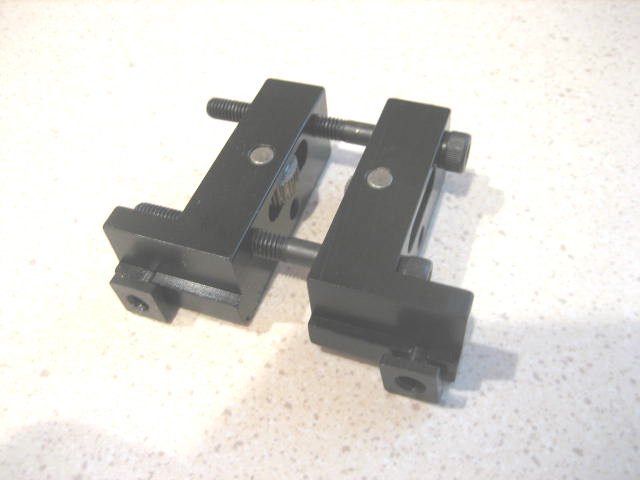
This is a closer view of the pawl fixture. The material is clamped down by a screw, and is wedged against a “fence”.
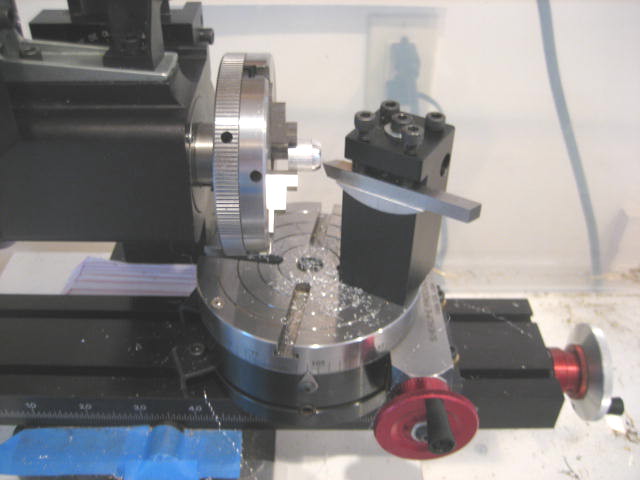
Here I am turning the spherical surface of the crank counterweight, with a lathe toolpost mounted on the rotary table. The part is held on the mill, not the lathe.
Here I am milling the profile of the crank, again using the rotary table to form a series of circular arcs.

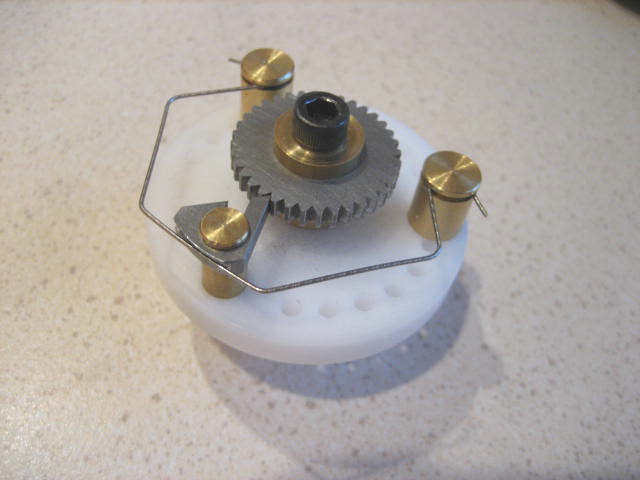
The ratchet and pawl mechanism requires some development work. I made this gadget in order to test my design.
For ratchet notching, I am replacing the V-groove milling cutter with a more rigid gear cutter. Also shown is a ratchet blank on a mandrel.
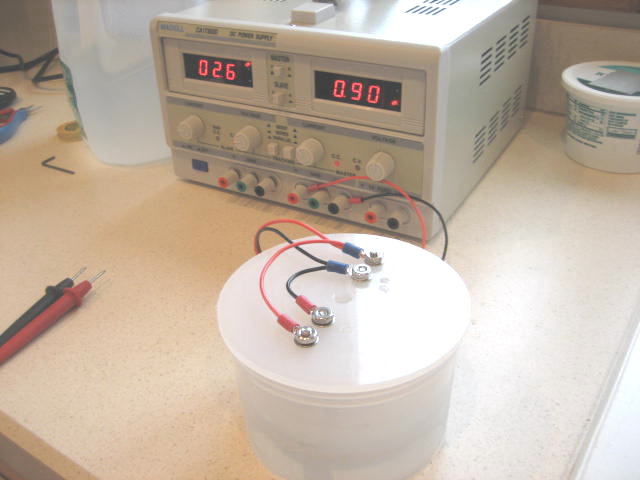
This shot was taken while anodizing an aluminum part. The process requires battery acid and a current-controlled power supply.
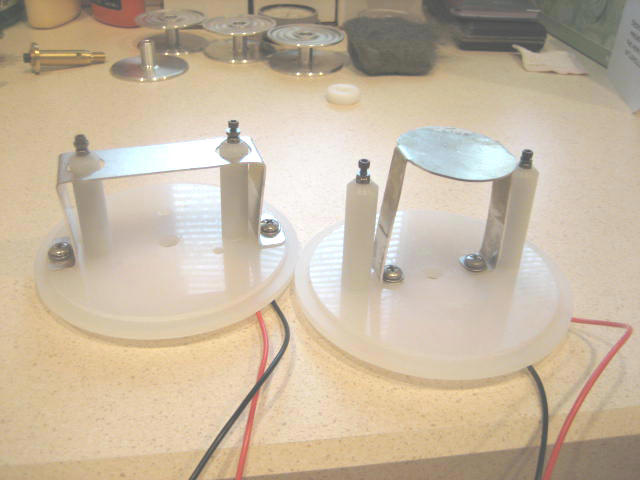
Here are the working ends of anodizing fixtures for the rings and crank. The parts to be anodized are secured to titanium electrodes by titanium screws. Cathodes are made from sheet aluminum.
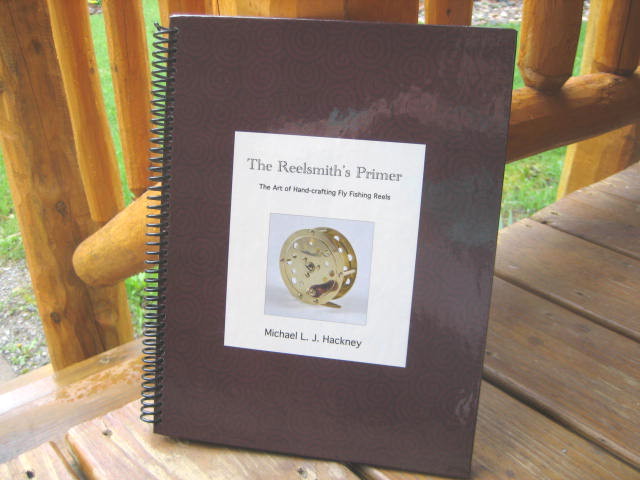
An different approach to reelmaking has recently surfaced. This is a picture of a brass reel by Michael Hackney, made with only hand tools. You can find out more about the process at Reelsmithing.
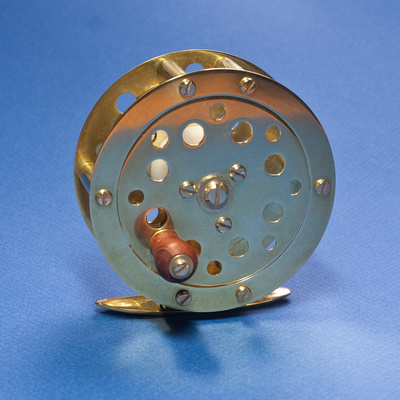
I said earlier that no reel plans are available, but that is no longer true. Hackney’s book has detailed plans in the form of templates, and is an education in hand working of metal. You can even buy materials kits at The Eclectic Angler.
Update 18 Aug 2020: I now believe that titanium should not be used for the rack (the anode support). It is better to have an aluminum rack, although it will have to be stripped of the oxide layer each time it is used, which is done with a lye solution. Titanium causes a dark deposit on the cathode, and recently has spoiled several work pieces (anodes) for me. Best to have only aluminum in the acid solution.

in response to your comment on clark’s i went over to see this blog.
nice work; that is a sweet rotary table.
did you see the slides on dingley knob restoration on the classic reels board?
fred
Fred,
I had not been monitoring the Classic Reels board. Interesting that it has more than 10 times the posts of Rod & Reel makers. And R&R is more than 50% rods.
The Dingley restoration looks great. But explain to me, how does one install the new handle post? There is no place to engage a wrench/screwdriver.
Dave
Dave, Do you care to share a drawing of your pawl?
Thanks,
Leroy……………
Leroy,
The pawl that you see in “Grayrock 2010” was my first try at the design. It produced too much drag and was too loud. To reduce drag, I made a longer pawl (and smaller rachet). To reduce noise, I changed from steel to Delrin. Also I started cutting rachet teeth with a milling cutter for gears, and this too changed the pawl shape. Most recent pawl can be seen in April 2011 post “Reel Bags”.
My drawings are pencil and paper, and don’t make a good illustration on this blog. But send me (dave49@wildblue.net) your Email address and I will send the best scans that I can make.
Dave