
The control panel for the engraver is now wired.
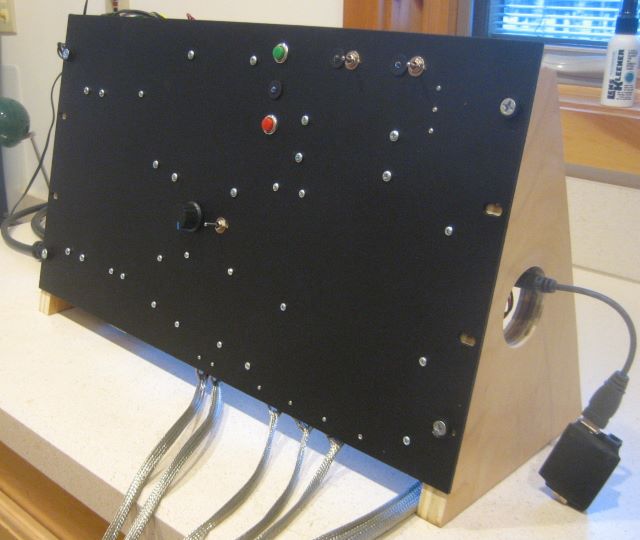
The front has some switches to give me direct control of stepper enable, spindle power, etc.
Here is the back side. There are three switching power supplies.
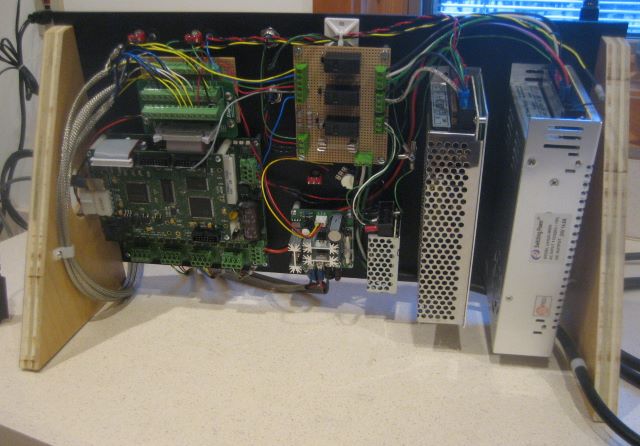
If there are any EMC problems, I may have to put all this inside a metal enclosure. At the start, I am relying on cable shielding and optical isolation.
Here the engraver, control panel, and PC console are connected.
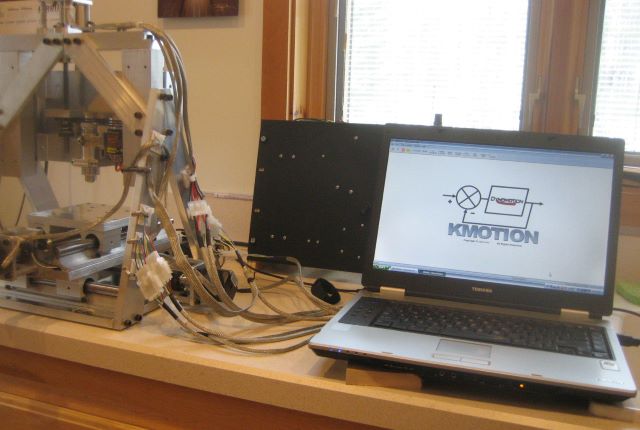
I can jog the axes around, but now have to learn enough about G code to start cutting metal.

I’ve really enjoyed your quest to build this engraver. I’m in the process of converting a Sherline mill to CNC. There is so much to CNC from electronics to software, it’s a hobby unto itself. I’m currently using Fusion 360 to design and generate G-code for my first part. Good luck and keep the posts coming.
Bob Edwards
Bob,
I was unaware of Fusion 360 until your comment. It looks like an excellent choice for a hobbyist who wants to do true 3D design, since Autodesk allows unlimited free use.
My ambition is a somewhat less; engraving is more of a 2D process and lesser commitment to learning something entirely new.
In addition to engraving, I expect to be able to use the machine to cut some 2D profiles on parts that are otherwise hand machined, like the complex outline of the back plate on a raised pillar reel.
Dave