
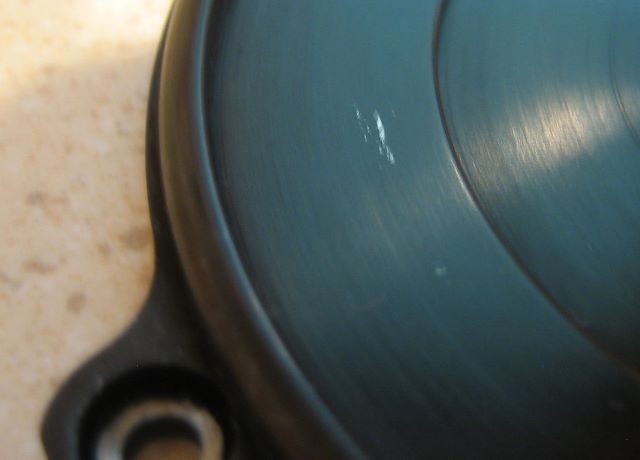
Having dyed some scrap metal parts (this blog, 23 April 2012), I moved on to some machined reel parts. On my first attempt, the result was not satisfactory. There were small but obvious flaws, like this spot on the rear end plate.
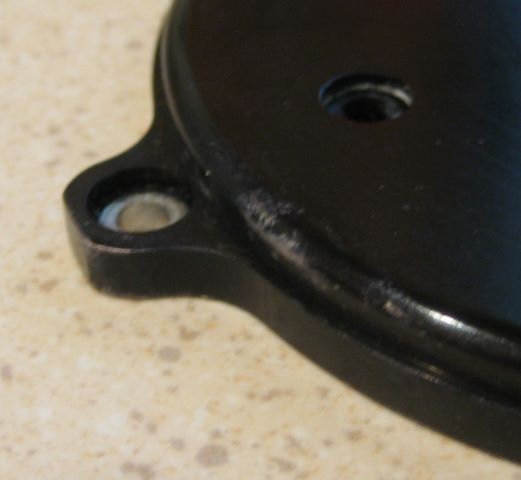
And this one on the front end plate.
I had taken the usual steps for anodizing: wash in dish detergent, wash with degreaser, handle with finger cots (but just 2 on each hand). My dyeing vessel was a mini crockpot that was not large enough to suspend the end plates vertically. So I attached “legs” made of screws and spacers at 4 lugs . These held the part up off the bottom of the vessel, but oriented horizontally. I now think that attaching the legs was too much handling, and some of the dye smudges are prints from fingers without cots.
So I stripped off the unsatisfactory coating with caustic soda (lye) and made another try. This time I was prepared with some wire hooks so that I did not have to handle the parts, either from wash to anodize or from anodize to dye.

The more complex wire part is a rack that holds an end plate horizontally in the dye.
I also soaked the parts in a hotter detergent solution for a longer time. The caustic soda etch (to remove the first anodize layer) may also have help make a cleaner part.
On the second attempt, the parts were without noticeable flaws on the surfaces that are visible on an assembled reel.
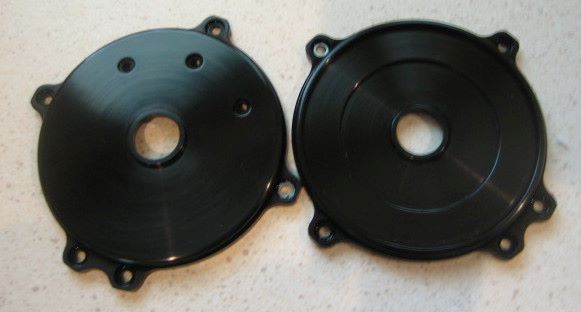
I did manage to trap an air bubble underneath the front end plate, so there is a patch that is anodized but not dyed.
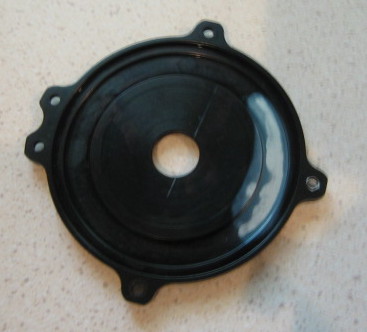
Here are a couple pictures of the finished reel, number 24.


I believe this will be the end of my “aluminum frame reels”. It is spring and time to fish. For next winter, perhaps a new reel design with fixed spindle.


Very nice Dave. I like it a lot. Can’t wait to see it in person and fish with it
Rich
Dave, after an ordeal like that fishing is easy.
Fred
Fred,
I don’t want to leave the impression that stripping and repeating the anodize was an ordeal. Stripping takes about 3 minutes; just dunk the part in a warm solution of drain cleaner.
Dyeing is somewhat more effort than just clear anodizing. The part must go directly from anodize to dye bath, or humidity in the air may start the sealing process. So I am fiddling with the dye bath temperature while the 1 hour anodize proceeds.
For an anodize horror story, read http://www.reelsmithing.com/forum/viewtopic.php?f=10&t=640&sid=e7200252da2b09659d537f88e5f50706. It is much better to be in control of the process yourself.
Dave